DataWedge 3.0 and Later Configuration Notes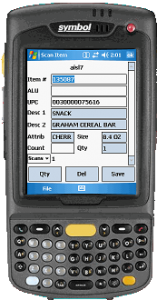
(See below for pre-DataWedge 3.0 configuration.)
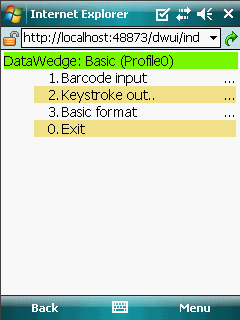
Start the DataWedge Configuration Applet – Start the DataWedge configuration applet by going to Start > Programs > DataWedge > Basic Configuration. (Note: if DataWedge is not already running, then you will need to click on the icon again to show the menu option for Basic Configuration.) At this point, Internet Explorer loads the applet and displays the following menu:
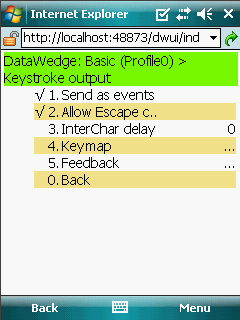
Keystroke Output Settings – Click on the Keystroke Output menu and enable Send as events and Allow Escape characters as shown:
Click Back and save changes.
Basic Format – Click on the Basic Format menu and check Enabled, Send data, and Send ENTER key as shown:
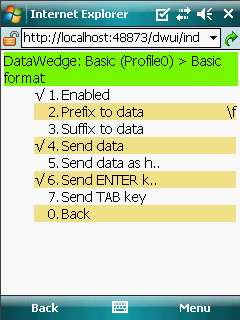
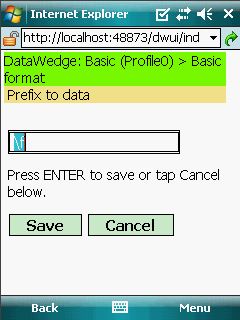
Data Prefix – Click Prefix to data, enter \f and click Save, as shown:
Save Changes – Click Back on the Basic Format screen and click OK to save changes.
Exit – Finally, click Exit on the Basic Profile screen and click OK.
Symbology Specific Settings – Depending on your labels, you may also need to check the settings for individual symbologies. Please see the DataWedge product documentation for your release.
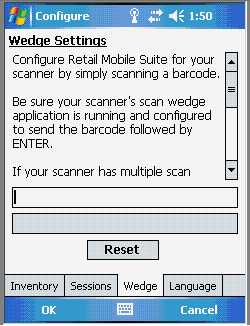
Retail Mobile Suite Settings – On your device, go to Device Configuration > Wedge. Click Reset. This step trains Retail Mobile Suite as to which buttons on the device initiate scans.
Pre-DataWedge 3.0 Configuration Notes
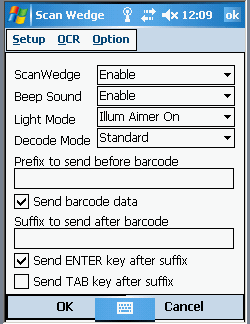
Scanner Options – Check the scanner configuration by going to Start > Programs > DataWedge. Configure as shown here:
Symbology Specific Settings – Depending on your labels, you may also need to check the settings for individual symbologies. From the DataWedge settings screen, go to Setup > Symbology Config and select the specific symbology to modify its settings.
Retail Mobile Suite Settings – On your device, go to Device Configuration > Wedge. Click Reset. This step trains Retail Mobile Suite as to which buttons on the device initiate scans.