Configuration Notes
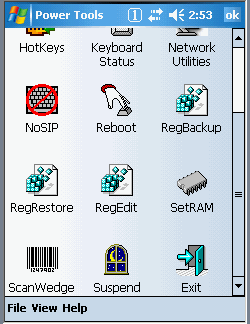
Check the scanner configuration by going to Start > Power Tools > EZConfig Utilities > ScanWedge. When the ScanWedge applet comes up, go to Scanwedge > Settings as shown:

Check the following settings:
- Ensure that PrefixKeys is enabled and its value is 12.
- Ensure that SuffixKeys is enabled and its value is 13.
- Ensure that SendMode is enabled and its value is Virtual Keys
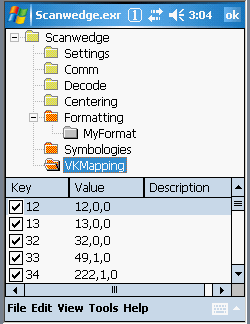
Next, click VKMapping and add insert a new key for 12, as shown, if not already present:
Launch Scanner
Launch the ScanWedge scanner applet by going to Start > Power Tools > ScanWedge. Note, you will need to restart the ScanWedge application anytime you make a change to the ScanWedge settings.
Symbology Specific Settings – Depending on your labels, you may also need to check the settings for individual symbologies. From the ScanWedge setings, click Symbologies.
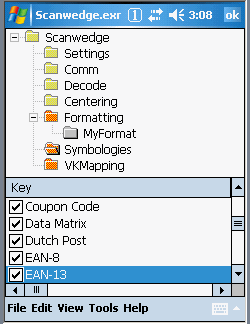
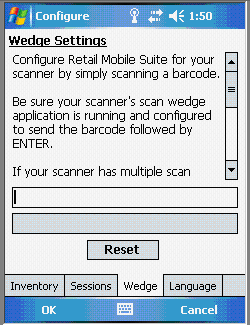
Retail Mobile Suite Settings – On your device, go to Device Configuration > Wedge. Click Reset. Scan a barcode. This step trains Retail Mobile Suite as to which buttons on the device initiate scans.